
Working Big: Creating Large Format Illustrations

In the refurbished food hall area of the University of Oregon
In February, I was contacted by an Environmental Graphic Designer to illustrate a piece of wall art for a new dining hall space at the University of Oregon. The brief was to create a painterly map of the Willamette River, with lovely spot illustrations of local food, nature and activities dotted around the design.
I still find it really exciting when I get the chance to work with someone who lives thousands of miles away, and am always curious to find out how our paths crossed if the email arrives out of the blue. In this case, the client commissioned me after spotting a map of Oregon that I was selling on Etsy. I’ve come to appreciate the power of being on a bigger platform like this for more than just selling my work, but also acting as another portfolio.
This project was the first time I’ve ever created something on such a big scale… the map needed to be a daunting 53 feet 4 inches long, and 4 feet 4 inches wide!
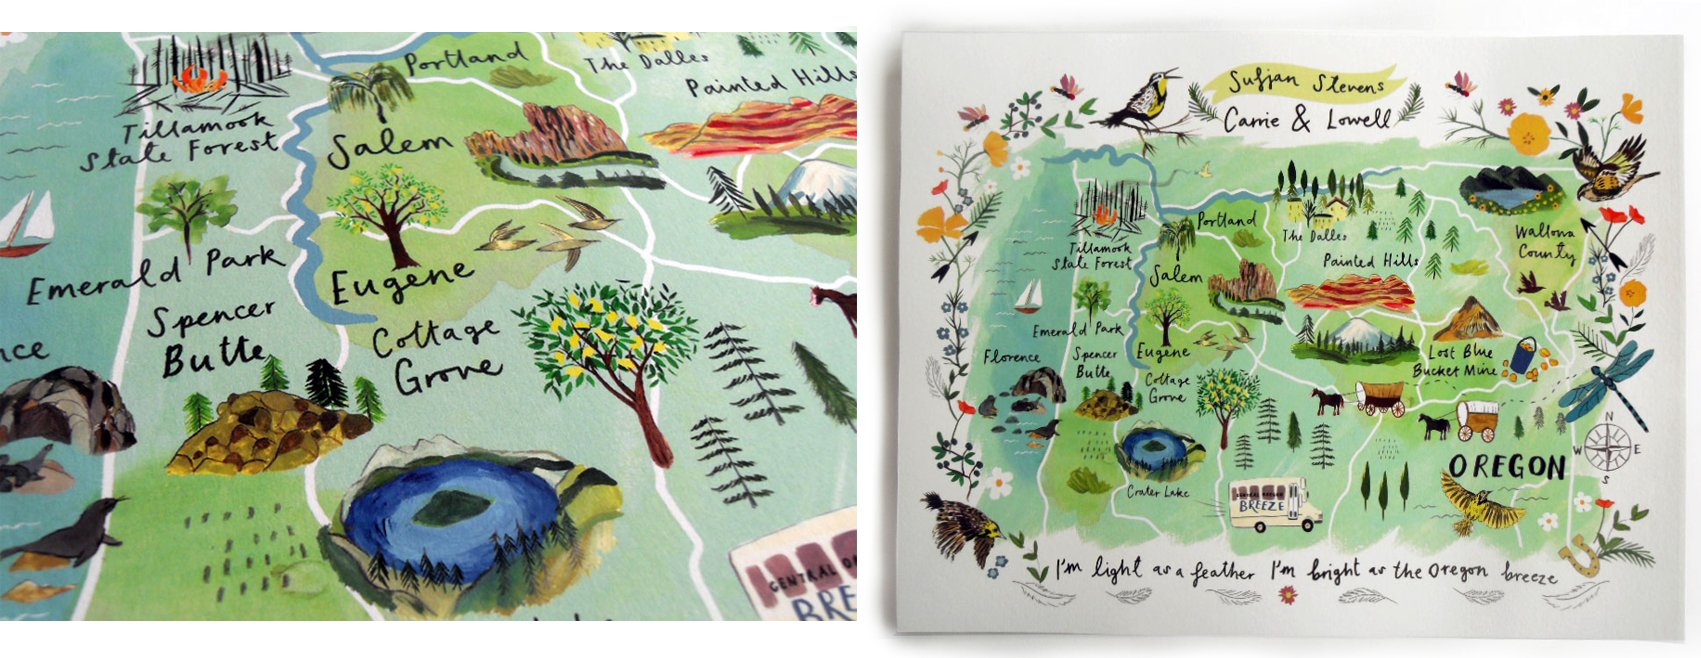
The map of Oregon, available in my shop, which led to this project
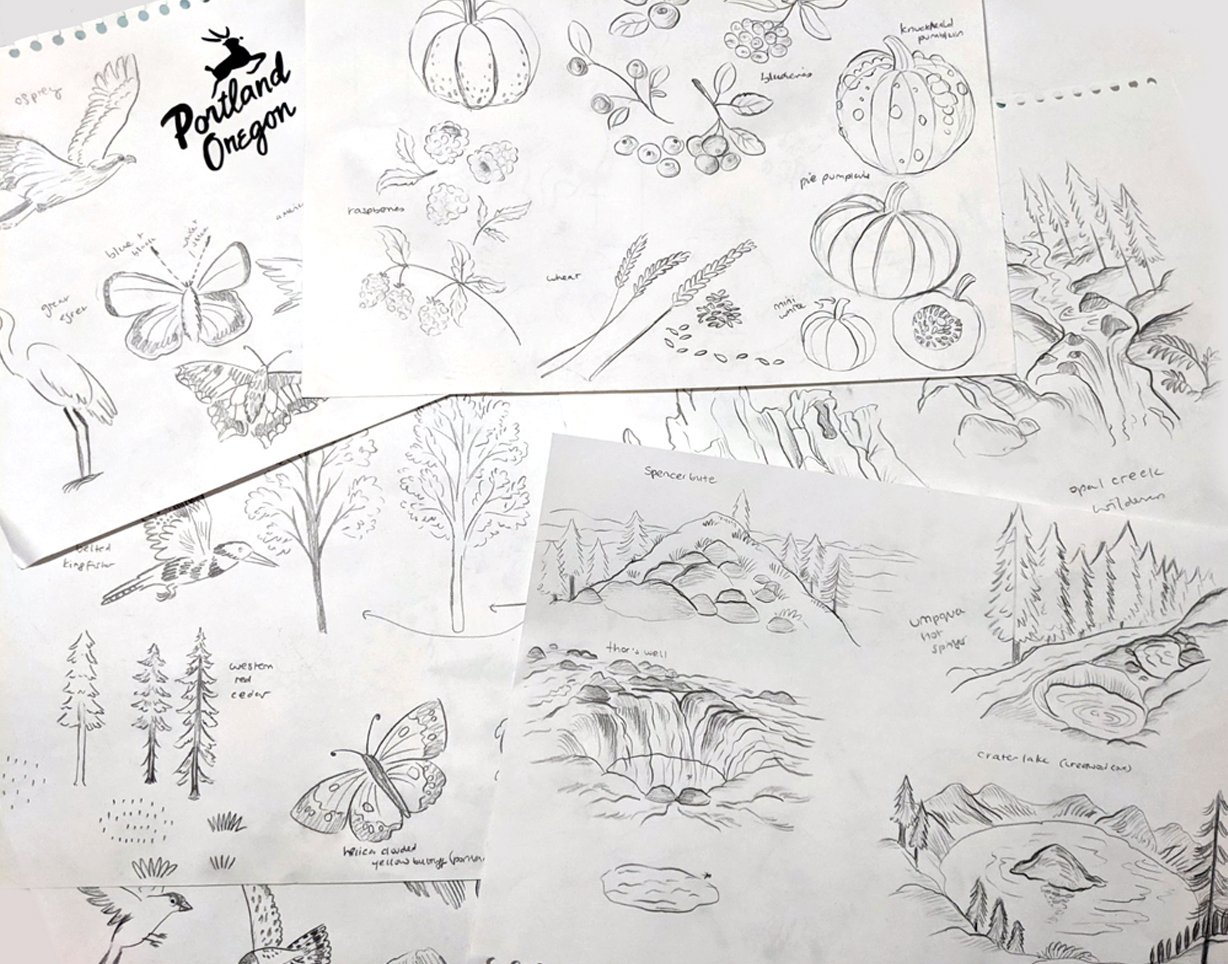
Preliminary sketchbook work for the mural
The majority of large scale art is vector based and is often created on Illustrator, but I have very limited knowledge of this program because it doesn’t really suit my work. I briefly explored Illustrator as an option, but it felt like a huge leap to attempt to create my paintings in an entirely new way. So, I had the daunting task of scanning in my painted artwork and textures before layering it all together on Photoshop. This has been my usual process for every illustration project I’ve ever had, but at this file size it resulted in an endless cycle of lagging and crashing. It was by far one of the most challenging projects I’ve had to date (and by challenging, I mean working into the wee hours for weeks on end, propping my eyelids open and fearing that it was actually a totally impossible task.)
Somehow, I made it to the other side! I’ve picked up a lot of really helpful knowledge in the process about working on raster software for largescale work. It’s worth saying that the viability of all of this does depend on the computer you’re using and whether it’s powerful enough to cope. But I hope this list of tips might help another illustrator who is wrestling with a massive file and a looming deadline somewhere out there.

Rough Design

Paintbrush textures for the background

Spot illustrations
Invest in RAM. My computer has now got 32GB, and it’s improved my everyday workflow hugely. Until this point I’d accepted a lifetime of waiting whilst Photoshop loaded files and saved my work. It means I can work on smaller files without any delay, and know that I’ll be prepared if I need to work on a larger scale piece in the future.
Make use of Linked Smart Objects in Photoshop. There’s plenty of information available from Adobe online about how this works. Essentially, if your file contains lots of separate ‘spot’ illustrations, you can create these in separate, external files before dropping them into a master file. This practice made the whole project possible, because the linked smart objects aren’t embedded in the master file-which means you maintain a lower, workable file size. Phew!
Use a different hard drive to your operating system for your scratch disk.
Go to Edit, Preferences and Performance and allocate a higher percentage of your RAM to Photoshop.
Make sure you only have Photoshop running, because having any other application open will really slow things down.
Save any previous projects on multiple external hard drives and cloud storage so that your computer has plenty of space. As an aside, I always double save on different hard drives and cloud storage, because I’ve learnt that hard drives can malfunction!
Whilst working on your Photoshop file, every so often select ‘Edit, Purge All’ to clear memory (you can't undo this though, so be careful).
Split the artwork up into sections. I divided this map into quarters and worked on 4 separate Photoshop files. They all had bleed/ an overlap at the edge for when they were printed, so that they joined together well.
Before saving your Photoshop file, add a white layer on top of your design. This trick really does speed up the time it takes when saving and opening the file again.
Remember that often with large scale artwork, there might be a significant distance between the artwork and the viewer. For this particular project it was around 6ft. This means that you can sometimes afford to drop to a lower resolution. It’s definitely something worth checking with your commissioner or printer though, as every project is completely different- and once you’re working at a low resolution, you can’t just increase it without the quality of your work suffering! If it’s going to be viewed very closely, you’d probably be better off sticking to 300dpi unless advised otherwise.


The finished illustration installed at the University of Oregon. Thank you especially to Brian Boram of RMB Vivid Inc. and to Rowell Brokaw Architects.